 Save
Save I discovered these baked oatmeal cups during a chaotic Tuesday morning when I'd overslept and had exactly seven minutes before heading out. Instead of my usual scramble, I grabbed one from the batch I'd made the weekend before, and something clicked—portable, satisfying, and genuinely delicious. That single moment sparked an obsession with perfecting them, and now they're my answer to every "I don't have time for breakfast" excuse.
I remember bringing a batch to a friend's house for a casual breakfast, and watching three different people eat two cups each without realizing it. She asked for the recipe immediately, then laughed when I told her how simple it was—turns out people are always hungry for something that feels homemade but requires almost no effort.
Ingredients
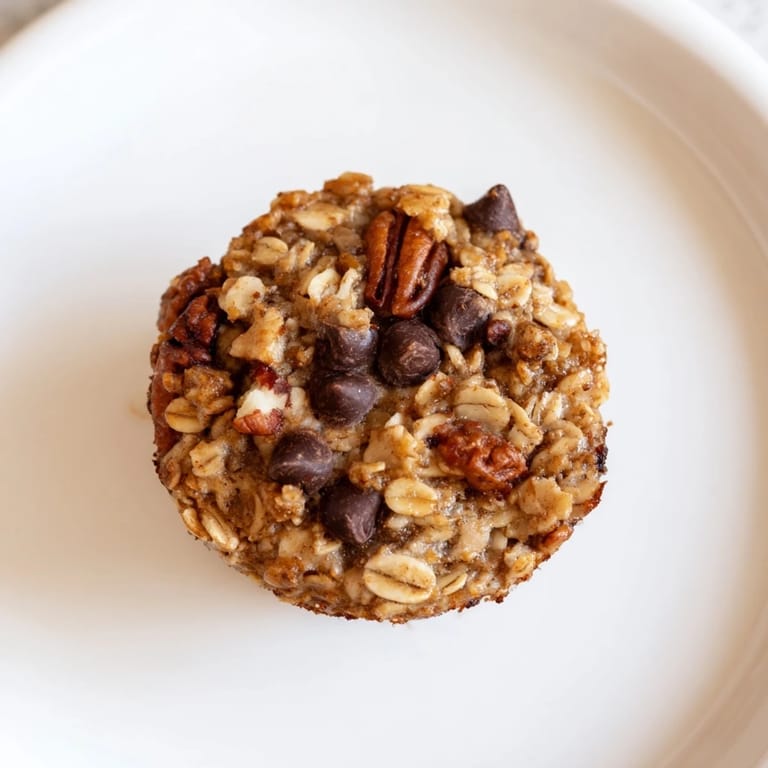
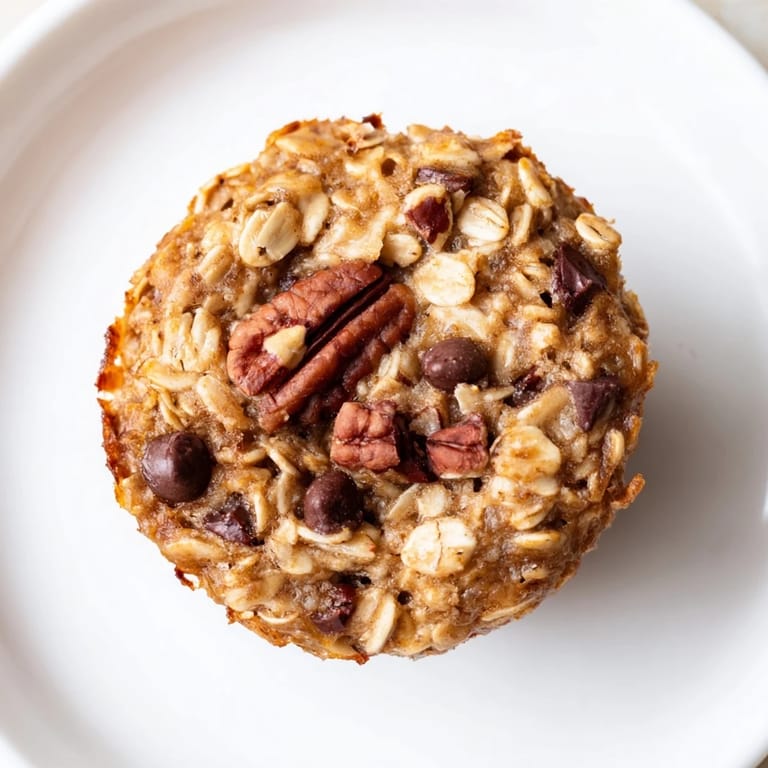
- Old-fashioned rolled oats (2 cups): Use certified gluten-free if you need to, and avoid quick oats since they'll turn mushy—the texture of old-fashioned oats is what makes these cups chewy rather than dense.
- Light brown sugar (1/2 cup, packed): The molasses in brown sugar gives them subtle warmth and keeps them moist even after a few days in the fridge.
- Baking powder (1 tsp): This is your lift—it keeps the cups tender and prevents them from becoming tough little hockey pucks.
- Ground cinnamon (1/2 tsp): Cinnamon is the understated backbone here; it transforms plain oats into something that smells like someone actually cared.
- Salt (1/4 tsp): A pinch of salt amplifies everything else and balances the sweetness so they don't feel cloying.
- Eggs (2 large): These act as your binder and give the cups structure without needing any weird additives.
- Milk (1 1/4 cups): Dairy or plant-based both work perfectly—this is what makes them moist and tender rather than dry.
- Unsweetened applesauce (1/4 cup): This adds moisture and subtle sweetness while keeping the fat content reasonable compared to using all butter.
- Melted coconut oil or unsalted butter (1/4 cup): Coconut oil gives them a slight richness without overpowering the oat flavor; butter works beautifully if that's what you have on hand.
- Pure vanilla extract (1 tsp): This is non-negotiable—it ties all the flavors together and makes them taste intentional.
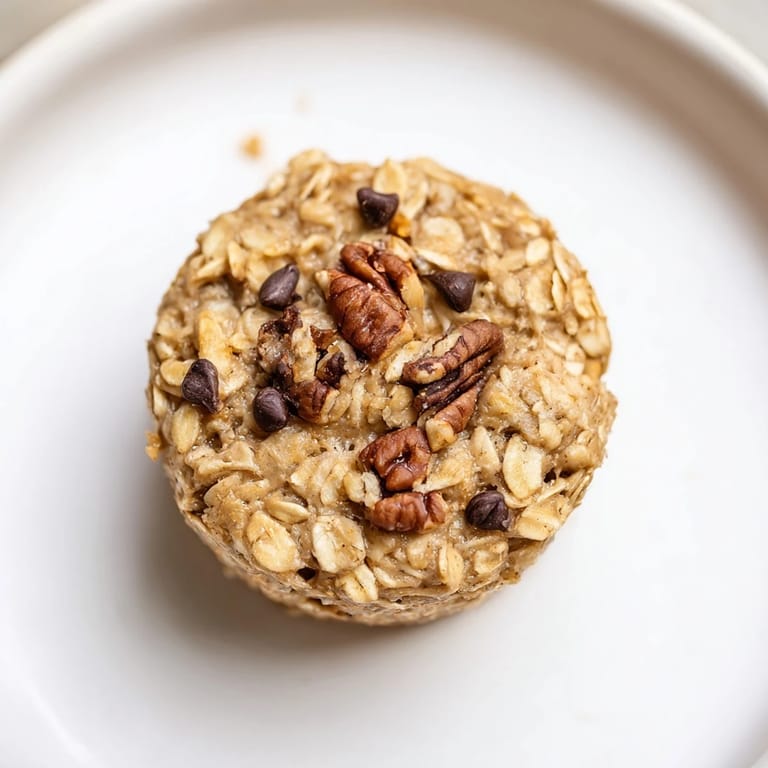
- Optional mix-ins (up to 1 cup total): Berries, chocolate chips, nuts, or dried fruit are your playground—I usually do berries with a handful of walnuts, but I've done chocolate chips with almonds and nobody complained.
Tired of Takeout? 🥡
Get 10 meals you can make faster than delivery arrives. Seriously.
One email. No spam. Unsubscribe anytime.
Instructions
- Heat your oven and prep your pan:
- Set your oven to 350°F and line your muffin tin with paper liners or give it a light coat of nonstick spray. This step takes thirty seconds but saves you from stuck, ruined cups that frustrate everyone involved.
- Combine the dry ingredients:
- In a large bowl, whisk together your oats, brown sugar, baking powder, cinnamon, and salt until they're evenly mixed. The whisking breaks up any brown sugar lumps and distributes the baking powder so you get consistent lift across all twelve cups.
- Mix the wet ingredients until smooth:
- In a separate bowl, whisk together eggs, milk, applesauce, melted oil or butter, and vanilla until everything is combined and looks homogeneous. This takes about a minute and ensures your batter will be even throughout.
- Bring wet and dry together:
- Pour the wet mixture into the dry ingredients and stir until just combined—you want everything moistened but not overmixed. Overmixing develops gluten in the oats and makes them tough, which is the opposite of what we're going for.
- Fold in your chosen mix-ins:
- Gently fold in your berries, chocolate chips, nuts, or dried fruit, keeping everything evenly distributed so no single cup gets all the good stuff. A silicone spatula works better than a spoon here because it's gentler.
- Fill the muffin cups:
- Divide the batter evenly among all twelve cups, filling each nearly to the rim. Using a small ice cream scoop or a quarter-cup measure keeps them uniform so they bake at the same rate.
- Bake until golden and set:
- Bake for 23 to 27 minutes—you're looking for golden-brown tops and a batter that no longer jiggles when you nudge the pan. Start checking at 23 minutes because ovens vary, and overbaking turns them mealy.
- Cool properly:
- Let them rest in the pan for 5 minutes so they firm up enough to handle, then transfer them to a wire rack to cool completely. This prevents condensation from making them soggy.
 Save
Save There's something genuinely sweet about pulling a homemade oatmeal cup from the fridge on a morning when you're running late, knowing you made something good for yourself ahead of time. It feels like a small act of self-care wrapped in a paper liner.
The Beauty of Customization
The real magic of these cups is that they're a canvas—last week I did a fall version with dried cranberries and pecans, and this week I'm testing chocolate chips with raspberries because someone mentioned that combination and it wouldn't leave my head. The base recipe stays exactly the same, but the possibilities genuinely feel endless, and that's why they've become such a staple in my kitchen.
Storage and Reheating Wisdom
I store mine in an airtight container in the fridge where they'll keep for five days, which is long enough to make the whole week of breakfasts without them getting stale. For longer storage, they freeze beautifully for up to two months—just wrap them individually in plastic wrap so you can grab one whenever you need it, and a quick 20-second spin in the microwave brings back that soft, chewy texture.
Taking It Further
Once you've mastered the base recipe, you can play with spices like nutmeg or cardamom, swap the applesauce for pumpkin puree in autumn, or drizzle a little maple syrup over the batter before baking if you want them slightly sweeter. For a vegan version, use flax eggs instead—two tablespoons of ground flaxseed mixed with five tablespoons of water works perfectly and tastes just as good.
- Always use old-fashioned oats, never quick oats, or the texture becomes mushy and disappointing.
- If you're doing a vegan batch, make sure your milk and oil are also plant-based since that's where most eggs do their work.
- Warming them in the microwave for 15 to 20 seconds right before eating gives you that just-baked feeling every single time.
 Save
Save These oatmeal cups have become my favorite kind of recipe—the kind that works hard for you without asking for much in return. They're proof that breakfast doesn't need to be complicated to feel thoughtfully made.
Recipe FAQs
- → Can gluten-free oats be used in this dish?
Yes, using certified gluten-free rolled oats ensures this dish is suitable for gluten-sensitive diets.
- → What mix-ins work best with these oatmeal cups?
Common additions include fresh or frozen berries, chocolate chips, chopped nuts, and dried fruits like raisins or cranberries.
- → How can I make these dairy-free and vegan?
Substitute eggs with flax eggs and use plant-based milk and oils instead of dairy milk and butter.
- → What is the best way to store these cups?
Keep them refrigerated in an airtight container for up to 5 days or freeze for up to 2 months.
- → How do I reheat the oatmeal cups for optimal texture?
Warm them briefly in the microwave to restore softness and enhance flavor.