 Save
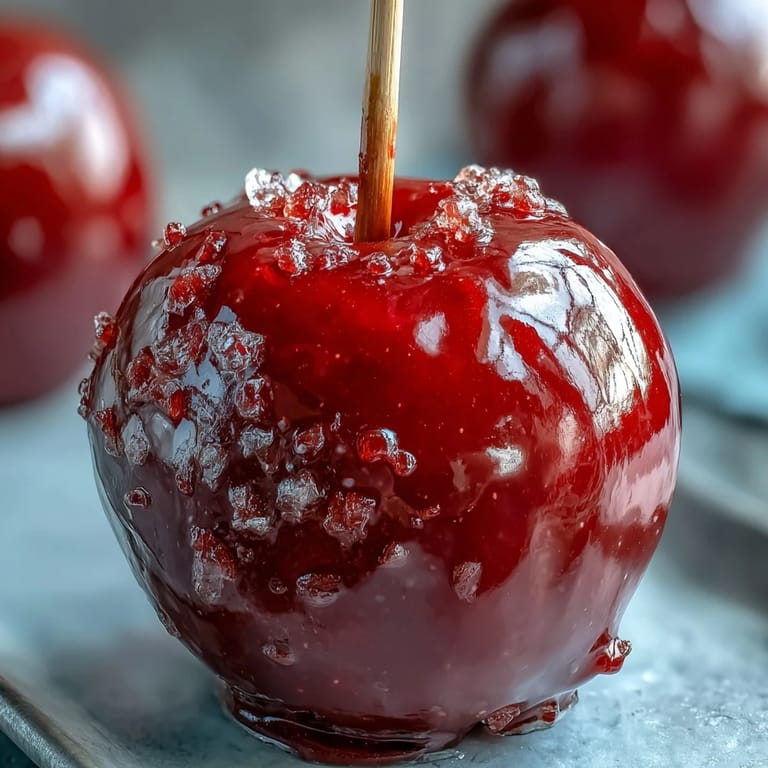
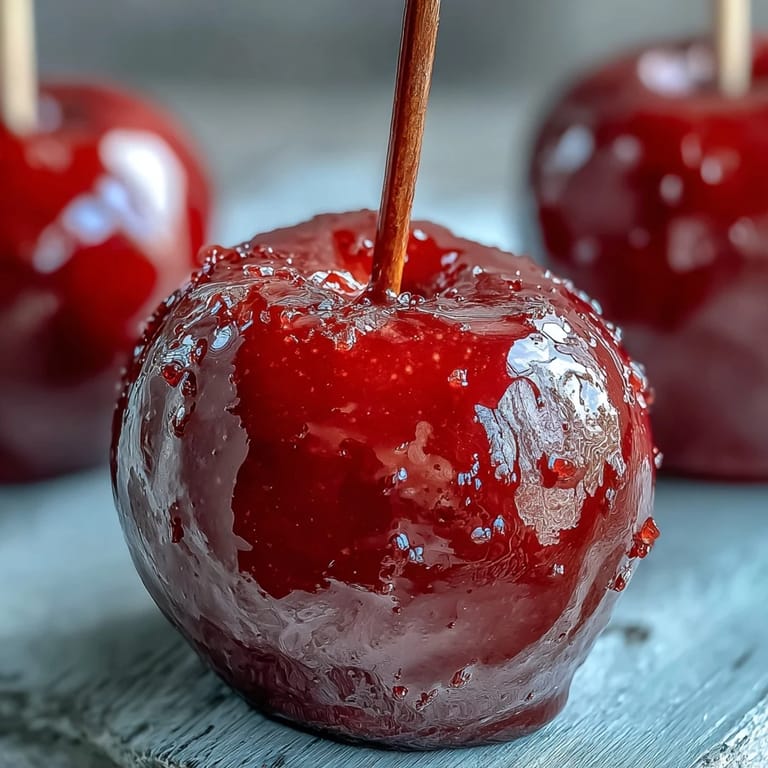
Save My neighbor's daughter showed up at our door one October afternoon with a candy apple in hand, biting into that glossy red shell while telling us about the fall festival down the street. I'd never made them before, but something about the way that candy crackled between her teeth made me determined to master the recipe. What started as curiosity about recreating that perfect snapping texture became an annual tradition in our kitchen every autumn.
The first batch I made, I got so nervous watching the syrup climb toward 300°F that I pulled it off heat too early, ending up with a chewy coating instead of that signature hard crack. My husband took a bite anyway and said it tasted like caramel apple taffy, which wasn't terrible, but we both knew it wasn't right. The second attempt, I trusted the thermometer completely, and the moment I dipped that first apple and heard the candy set with that satisfying clink, I felt like I'd unlocked something special.
Ingredients
- Granny Smith or Gala apples (8 medium): Granny Smith gives you that tart bite that balances the intense sweetness, but honestly Gala works beautifully too if you prefer something milder—just make sure they're firm and completely dry or the candy won't stick properly.
- Granulated sugar (2 cups): This is the backbone of your candy shell, so don't substitute or get creative here; it needs to reach exactly 300°F to get that hard crack texture.
- Light corn syrup (1 cup): This prevents crystallization and keeps your candy smooth and glossy, which is why you can't just use sugar and water alone.
- Water (1/2 cup): It dissolves the sugar evenly, but once the mixture heats up, the water gradually evaporates and the magic happens.
- Red food coloring (1/2 tsp): A little goes a long way, so add it carefully after the syrup reaches temperature—liquid or gel both work, though gel gives a deeper red.
- Wooden sticks (8): These need to be sturdy enough to support an apple without snapping, so don't grab those thin coffee stirrers.
- Nonstick cooking spray or parchment paper: This prevents the candy apples from sticking to your baking sheet and makes cleanup infinitely easier.
Tired of Takeout? 🥡
Get 10 meals you can make faster than delivery arrives. Seriously.
One email. No spam. Unsubscribe anytime.
Instructions
- Get your setup ready:
- Line your baking sheet with parchment paper or give it a light spray of nonstick cooking spray—this is your landing zone for the hot apples. Insert a wooden stick firmly into the stem end of each apple, pushing it in at a slight angle so it feels secure.
- Combine and heat the candy mixture:
- Pour sugar, corn syrup, and water into your heavy-bottomed saucepan and stir until it looks like wet sand. Set it over medium-high heat and let it come to a boil without stirring anymore—stirring at this point invites crystallization, which will ruin your smooth, glossy shell.
- Watch the thermometer climb:
- Clip your candy thermometer to the side of the pan and let it bubble away for about 15 to 20 minutes until it hits 300°F, that magical hard crack stage. You'll notice the mixture going from clear to pale golden and the smell becoming almost caramelized, which is your signal you're getting close.
- Add the color and move fast:
- The moment it reaches 300°F, pull it off the heat and immediately stir in the red food coloring until it's evenly blended throughout. Work quickly from here because the syrup is cooling every second and will become too thick to dip smoothly.
- Dip with confidence:
- Tilt the pan slightly and dip each apple into the red candy, turning it to coat evenly, then let the excess drip back into the pan before setting it on your prepared baking sheet. The whole dipping process should feel like a quick dance—the faster and more decisive you are, the better your coating will be.
- Let them set and admire:
- Leave the apples undisturbed at room temperature for about 15 minutes until the candy shell hardens completely into that satisfying crackle texture. Resist the urge to move them around; they need this quiet time to set properly.
 Save
Save There's something almost ceremonial about making candy apples—the way your whole kitchen smells sweet and caramelized, how everyone gathers around as you're dipping, and the chorus of delight when someone bites into one for the first time. My daughter now asks for them on her birthday instead of a cake, and I've stopped being surprised by how much joy a simple apple can bring when it's wrapped in a glossy red shell.
Making Them Fancy
Right after you dip an apple and set it on the baking sheet, you have maybe 30 seconds before the candy starts to set, which is your window to add toppings if you want them. I've rolled freshly coated apples in crushed pistachios, sprinkles, chopped pretzels, and even edible glitter, and each time feels like creating a little edible work of art.
Timing and Storage
These apples are best served within a few hours of making them while the candy shell is still at peak crispness, though they'll stay good for a day if you keep them at room temperature in a cool spot. The candy will eventually soften slightly if humidity gets to it, so avoid storing them in the fridge where condensation becomes the enemy of crunch.
Apple Choices and Troubleshooting
Granny Smith apples deliver that classic tart-sweet contrast that makes candy apples memorable, but Gala, Fuji, or even Honeycrisp apples work beautifully if you prefer a sweeter bite. The most important thing is that your apples are firm, unblemished, and completely dry before you coat them—any moisture or soft spots will sabotage your coating.
- If your candy thickens too much while dipping, give it a gentle 20 to 30 second warm-up over low heat without letting the temperature climb back to 300°F.
- If the coating looks thin or spotty, don't panic—one quick second dip into the warm candy will fix it right up.
- Store your finished apples on parchment paper so they don't stick together as they cool.
 Save
Save These candy apples are the kind of recipe that once you nail it, you'll want to make them again and again—maybe even annual tradition material. There's real magic in something so simple becoming something so memorable.
Recipe FAQs
- → What apples work best for coating?
Firm apples like Granny Smith or Gala hold the candy shell well, providing a crunchy, tart balance.
- → How do I know when the candy mixture is ready?
Boil the sugar mixture until it reaches 300°F (149°C), the hard crack stage, for a crisp shell.
- → Can I add decorations to the apples?
Yes, roll the coated apples in chopped nuts or sprinkles before the candy hardens for extra texture and flavor.
- → How long should the coated apples cool?
Allow apples to cool at room temperature about 15 minutes until the candy coating hardens completely.
- → What safety tips should I follow when working with hot syrup?
Handle boiling syrup carefully to avoid burns; use tools and avoid stirring once boiling starts to prevent crystallization.