 Save
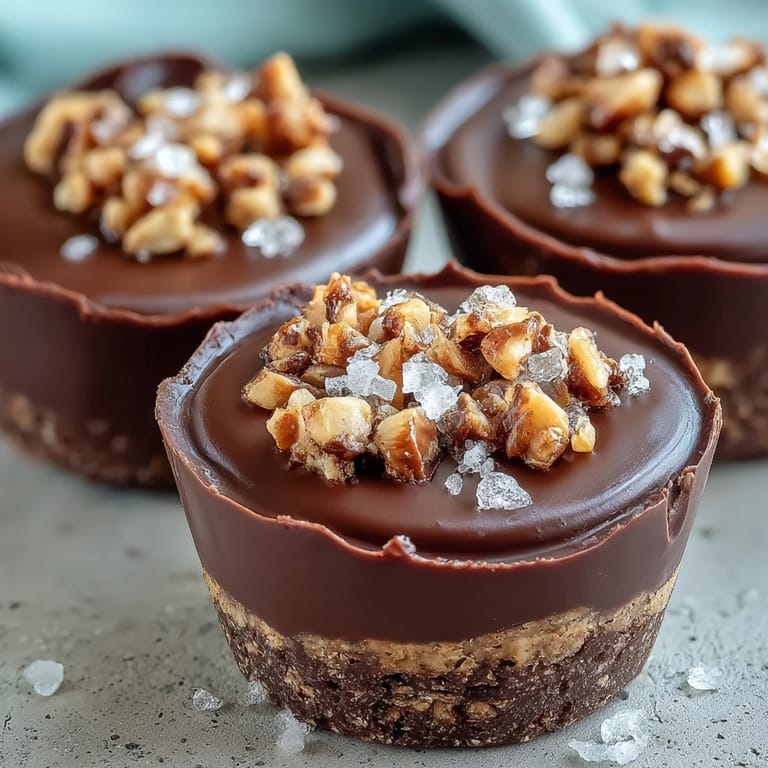
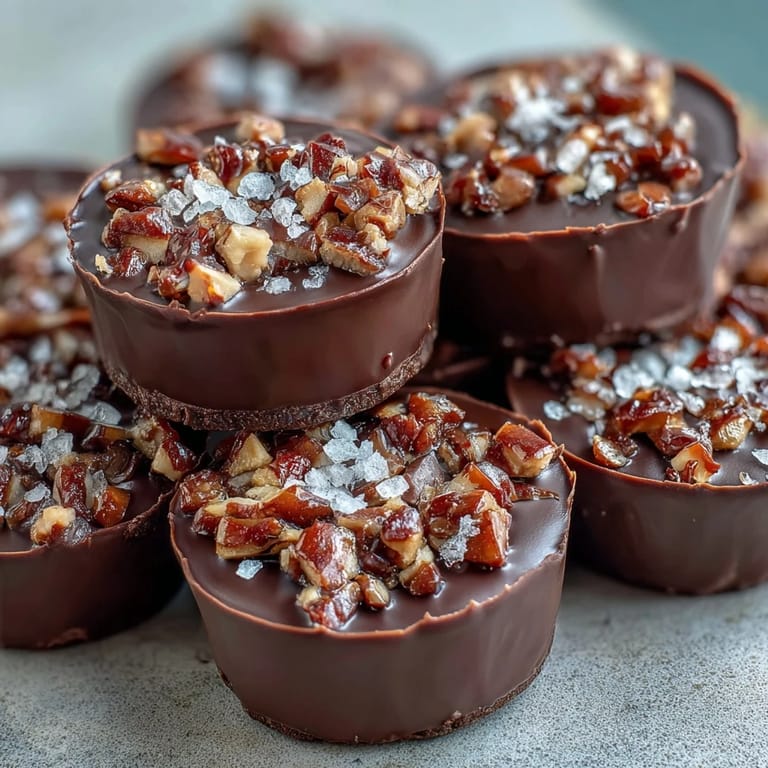
Save My roommate once caught me standing in front of the freezer at midnight, spoon in hand, demolishing a protein bar like it owed me money. She laughed and said I needed to learn to make my own treats that actually tasted good. That conversation led me here, to these little frozen peanut butter cups that somehow taste indulgent while sneaking in cottage cheese and actually keeping me full. They've become my non-negotiable freezer staple, the kind of thing I make in batches because they disappear faster than I can label the container.
I brought these to a friend's house last spring, genuinely nervous about how she'd react to the cottage cheese twist. She bit into one, made a face like she was experiencing something forbidden, and asked for the recipe immediately. Watching someone's skepticism transform into actual joy over a freezer treat you made is weirdly satisfying. Now she makes batches too, and we text each other photos of our variations like we're comparing children.
Ingredients
- Cottage cheese: Full-fat tastes creamier, but low-fat works fine if that's what you have; the key is blending it smooth so nobody suspects it's there.
- Honey or maple syrup: Just enough to sweeten without making these cloyingly sweet, and the syrup adds a subtle depth that honey can't quite match.
- Pure vanilla extract: Don't skip this or use imitation; a teaspoon transforms the whole flavor profile into something that tastes professionally made.
- Natural peanut butter: The kind with just peanuts and maybe salt, because the stabilizers in regular peanut butter can throw off the texture.
- Dark chocolate chips: At least 60% cacao keeps these from tasting like candy; anything lighter and you lose the contrast that makes them special.
- Coconut oil: Melts the chocolate into a silky coating without changing the flavor; just a tablespoon does the trick.
- Crushed roasted peanuts and sea salt: Optional but honestly essential; the salt hits different when it's flaky and the peanuts add texture that your teeth will appreciate.
Tired of Takeout? 🥡
Get 10 meals you can make faster than delivery arrives. Seriously.
One email. No spam. Unsubscribe anytime.
Instructions
- Set up your station:
- Line your mini muffin tin with silicone liners if you have them, or paper ones work too. This step saves you from scraping frozen bites out of bare tin, which I learned the hard way.
- Blend the filling until it's impossibly smooth:
- Cottage cheese plus honey plus vanilla goes into the food processor or blender first, and you keep going until it looks like a cloud. You'll swear there's no cottage cheese in there, which is exactly the point.
- Fold in the peanut butter:
- Add the peanut butter and blend again until you can't see any streaks. This creates that swirled, marbled look if you don't overdo it.
- Fill and chill the first time:
- Spoon the mixture into your lined cups, filling each about three-quarters full, then smooth the tops so they freeze evenly. Let them sit in the freezer for a solid hour until they're firm enough to coat.
- Melt your chocolate properly:
- Double boiler method feels fancy but honestly just microwave the chocolate and coconut oil in 30-second bursts, stirring between each one, until it's glossy and pourable. This prevents seized chocolate, which tastes grainy and bitter.
- Coat with intention:
- Pull the frozen bites out and immediately spoon melted chocolate over each one, covering the tops and letting it drip down the sides slightly. Work quickly because they start sweating the second they meet warm chocolate.
- Finish with flair:
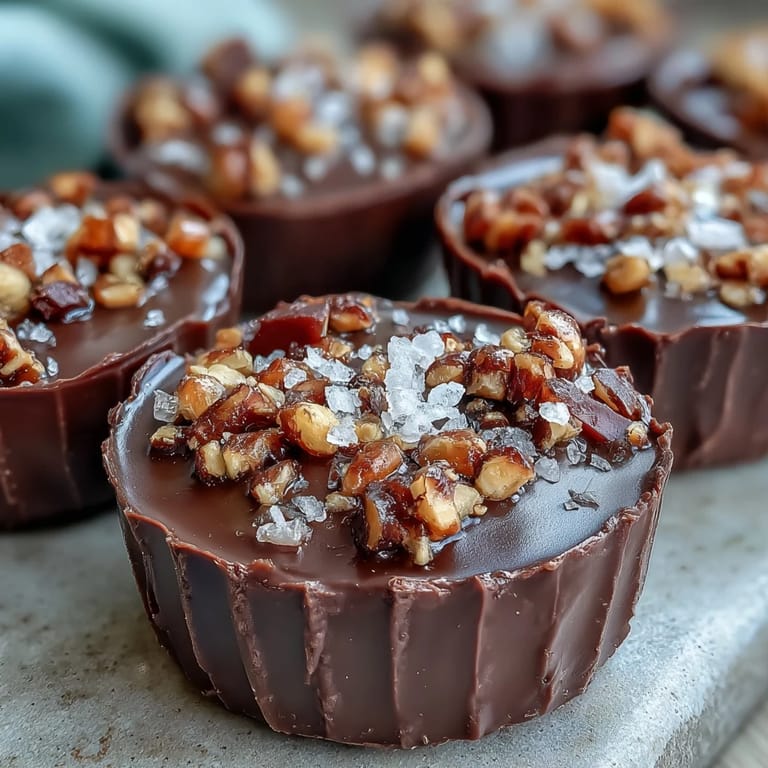
- Sprinkle crushed peanuts and a pinch of sea salt while the chocolate is still warm and tacky. The salt is non-negotiable if you want that professional balance of sweet and salty.
- Final freeze:
- Back into the freezer for at least another hour until the chocolate sets completely. Once fully frozen, pop them out of the liners and store in an airtight container where they'll keep for weeks.
 Save
Save There's something almost ceremonial about reaching into the freezer after a long day and pulling out something you made that tastes this good. These bites sit there, waiting like little frozen promises, and somehow they remind me that feeding yourself well doesn't have to be complicated or time-consuming.
Variations That Actually Work
I've played with this recipe more times than I should admit, and some variations stick while others taught me valuable lessons. Swapping the peanut butter for almond butter makes them lighter and more delicate, while sunflower seed butter creates a slightly earthier flavor that pairs surprisingly well with dark chocolate. The only change I don't recommend is using flavored peanut butters; it competes with everything else and throws off the balance you're working toward.
Customizing the Chocolate Situation
Dark chocolate remains my default because of how it plays against the creamy sweetness of the filling, but milk chocolate works if you prefer something gentler. Semi-sweet chocolate lives in that middle ground where it's accessible without feeling like you're eating candy. The 60% cacao rule isn't strict; I've gone as dark as 85% for moments when I wanted something almost bitter, and as light as 55% when I was serving people who find dark chocolate too intense.
Storage and Longevity
These live indefinitely in the freezer in an airtight container, which sounds like I'm bragging but is genuinely useful when you want to make a batch and forget about them for a month. They also thaw beautifully if you leave them on the counter for a few minutes; the texture transforms into something mousse-like that's almost better than frozen. The chocolate coating cracks slightly when you bite into them cold, which is that sensory detail that makes them feel special.
- Keep them in an airtight container to prevent freezer burn and flavor absorption from other foods.
- Let them sit at room temperature for exactly 3 to 5 minutes before eating for the best texture.
- If you're meal-prepping, make a double batch because they disappear faster than you'd think possible.
 Save
Save These bites have become my answer to the question of how to eat well without it feeling like deprivation. They're waiting in your freezer right now, ready to prove that nutritious can also taste like celebration.
Recipe FAQs
- → Can I use crunchy peanut butter instead of creamy?
Yes, crunchy peanut butter adds extra texture and works well to balance the smooth cottage cheese in the bites.
- → Is it necessary to freeze the bites before adding chocolate?
Freezing first helps the filling firm up, ensuring the chocolate coating sets properly and prevents mixing.
- → What alternatives are there to dark chocolate for coating?
Milk or semi-sweet chocolate can be substituted to adjust sweetness and flavor to your preference.
- → Can I make these nut-free?
Yes, replacing peanut butter with sunflower seed butter creates a nut-free variation while maintaining creaminess.
- → How should the bites be stored?
Keep them in an airtight container in the freezer and let sit a few minutes at room temperature before serving.