 Save
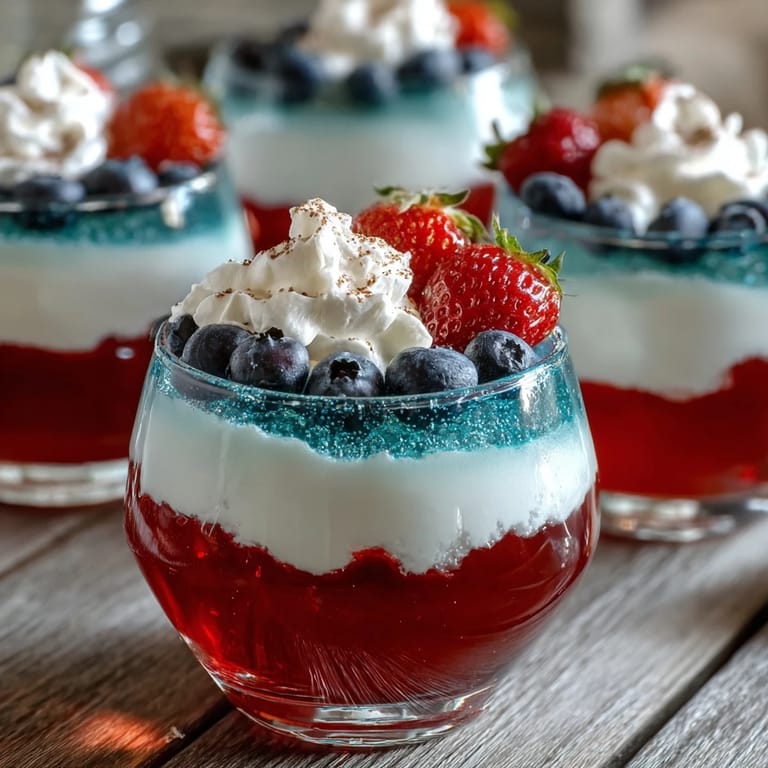
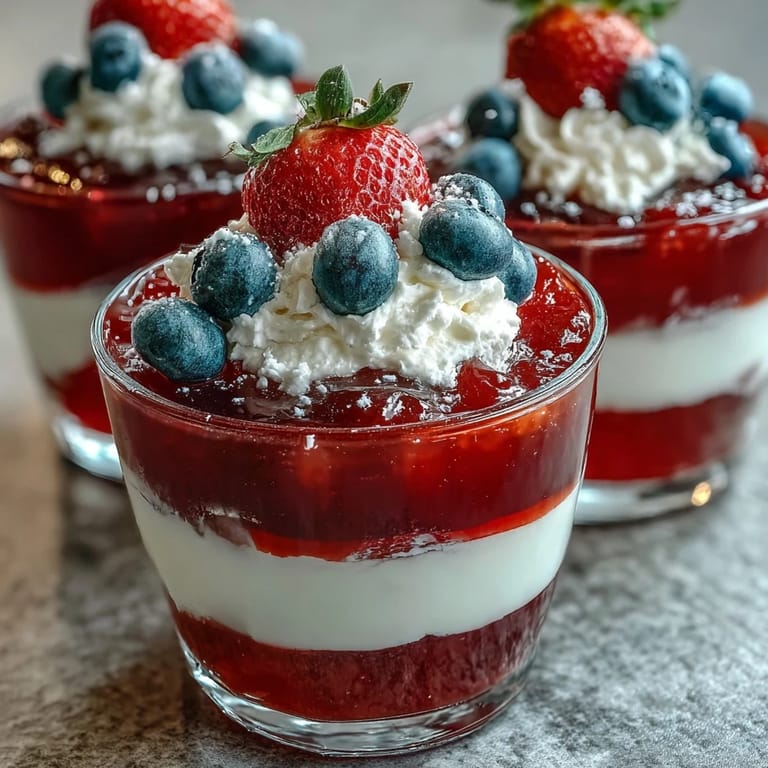
Save The first time I whipped up these Red, White, and Blue Layered Jello Cups, my kitchen was humming with anticipation & my playlist was stuck on upbeat summer tunes. There was something cheerfully chaotic about balancing cups on a muffin tin & seeing the vibrant layers transform from liquid to jewel-like stripes. The scent of berries seemed to swirl in the air as each layer was poured, almost as if the colors themselves carried their own energy. Making this dessert felt more like playing with edible paint than following a recipe, & I loved every splashy second of it.
I remember assembling these for a backyard barbecue, laughter spilling across the patio table as we tried guessing which layer would set first. My niece asked if the cups came from a fireworks factory & I smiled, realizing I'd managed to turn a simple dessert into the centerpiece of our celebration. The cups didn't last long, but their effect lingered—everyone left with sticky fingers & smiles.
Ingredients
- Strawberry or Cherry Jello: Choosing your favorite red flavor sets the tone—strawberry lends a mellow sweetness, while cherry packs a zestier punch. I find dissolving the powder thoroughly in boiling water leads to best clarity.
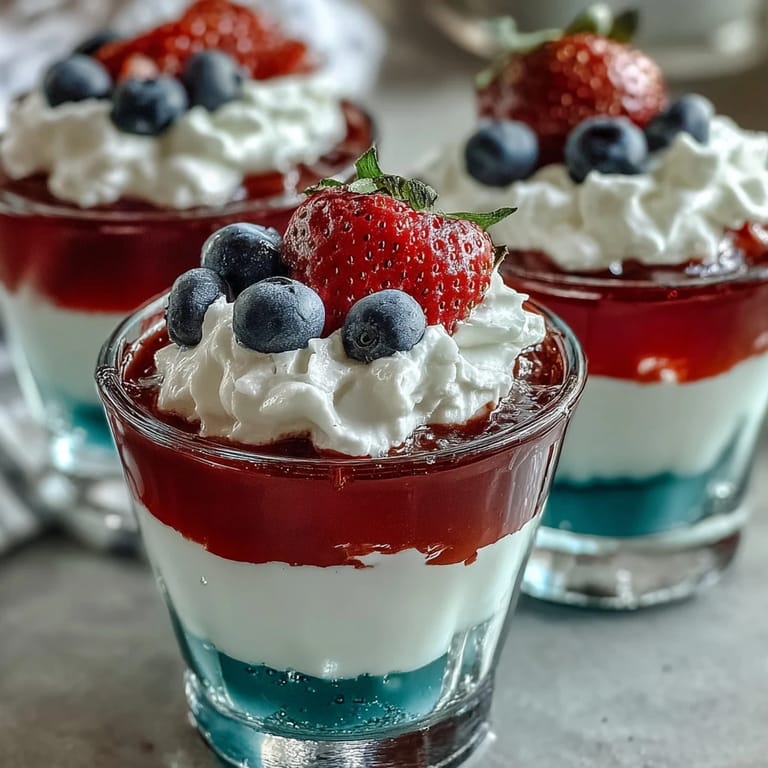
- Blue Raspberry Jello: The bold blue hue draws attention, & cooling it to room temperature prevents it from clouding the layers.
- Unflavored Gelatin: This is key to the white stripe—bloom it gently for a smooth texture.
- Sweetened Condensed Milk: The creamy layer ties the whole look together. Pour slowly so it doesn't disturb the red base.
- Cold & Boiling Water: Water is the backbone that lets Jello set; measure carefully for reliable results!
- Optional Garnish (whipped cream, berries): Fresh berries & a dollop of cream add flavor pops & finish the cups with a flourish.
Tired of Takeout? 🥡
Get 10 meals you can make faster than delivery arrives. Seriously.
One email. No spam. Unsubscribe anytime.
Instructions
- Get the Cups Ready:
- Gather 8 clear cups & arrange them where you'll layer. Placing them in a muffin tin helps achieve angled stripes, which look impressively sharp.
- Create the Red Layer:
- Dissolve red Jello in boiling water, stirring with upbeat energy until everything melts. Add cold water, swirl, & split evenly among cups, about 2 tablespoons per—side tilt each cup for diagonal layers if you like. Chill for 45–60 minutes, checking for a firm surface before the next layer.
- Build the White Stripe:
- Bloom unflavored gelatin in cold water for 5 minutes, letting it swell & soften. Stir in boiling water until dissolved, then blend gently with sweetened condensed milk; cool completely before pouring it gently atop the red to avoid mixing colors. Stand cups upright & chill another 45–60 minutes.
- Pour the Blue Finale:
- Mix blue raspberry Jello with boiling water, then stir in cold water & let it cool—patience here keeps the layers crisp. Pour on top of white layers with care, avoiding splashes; refrigerate cups upright for at least 2 hours until beautifully set.
- Finish & Serve:
- Just before gathering everyone, crown each cup with whipped cream & scatter fresh berries. The anticipation is half the fun as guests peek inside to see every color.
 Save
Save It wasn't until I watched my friend's toddler poke the layers with a spoon & giggle at the wobble that I realized these cups invite playfulness to the table. Sharing them became a tradition—sometimes with messy results, always with happy faces.
Getting Perfect Layers Every Time
A little patience makes magic here. If you want professional-looking layers, make sure each stripe is fully set before moving on. Sometimes, turning cups at an angle for the first layer creates diagonal stripes that look extra festive—just set the cups in a muffin tin to steady them!
Customizing Your Cups for Any Occasion
These cups fit almost any celebration with a quick swap of Jello flavors or colors. For birthdays, I use lime for green layers or pineapple for yellow. The key is fitting the theme without sacrificing the classic creamy stripe.
Serving, Storing, and Last-Minute Touches
They taste best straight from the fridge and decorated right before serving. If making ahead, keep cups covered so they don’t absorb fridge smells or dry out.
- Let guests top their cups—kids love building their own.
- A squeeze of lemon on berries gives a zingy edge.
- Plan for extra spoons, because everyone wants seconds.
 Save
Save These Jello cups turn a simple gathering into a story shared in stripes & laughter. Have fun layering—they’ll be the highlight of your celebration!
Recipe FAQs
- → How do I achieve sharp, distinct layers?
Allow each layer to fully set and chill before pouring the next. Refrigerate cups at an angle for eye-catching stripes.
- → Can I make these cups dairy-free?
Use coconut milk and sugar instead of sweetened condensed milk for a dairy-free alternative in the white layer.
- → What flavors work best for the colored layers?
Strawberry, cherry, or raspberry for red; blue raspberry for blue. Feel free to experiment with other berry flavors.
- → How far in advance can these be prepared?
Prepare up to a day ahead. Keep covered in the refrigerator to maintain freshness and sharp layers.
- → What is a good garnish for these cups?
Top with whipped cream and fresh blueberries or strawberries for a festive finish.